Toughen your Gsuite from spoofed email, flagged as being spam and make sure Gmail recognize your website address as legitimize business.
Google requires certain email requirements to achieve this.
Diagnose email issue
- Go to https://toolbox.googleapps.com/apps/checkmx/check.
- Add domain name then click on the Run Checks!
- The list of issue will print out below the toolbox

Domain must have at least one mail server
- Set up first the MX record in your DNS settings.
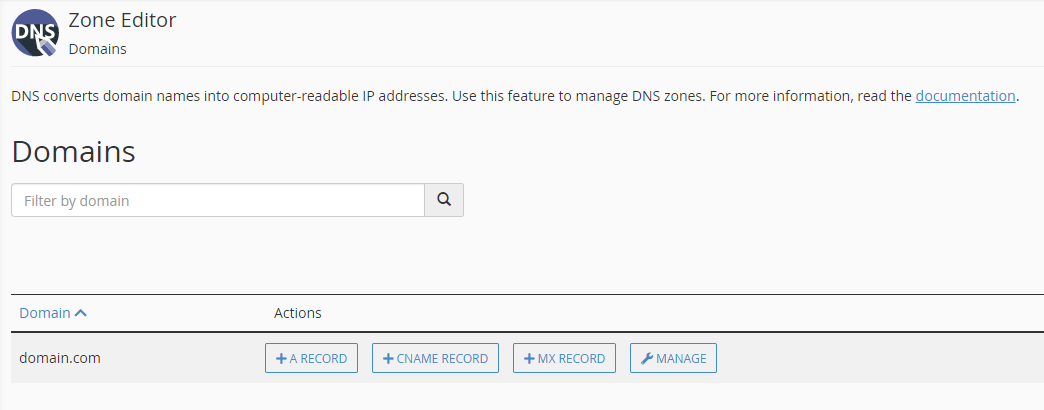
- Using cPanel, Go to Zone Editor and click add MX record

- Add the following value to point the email record to Google.com

Check to https://intodns.com/ to see if te MX record is already propagated and see if the google MX is already reflected on it

Source: https://support.google.com/a/answer/174125
Setting up SPF
- Go to the zone editor
- Add TXT
Add following information as
TXT.v=spf1 include:_spf.google.com ~all
Setting up DKIM
- Sign in to your Google Admin console.
- Sign in using an account with super administrator privileges (account sample@gmail.com).
- From the Admin console Home page, go to Apps and then Google Workspace and then Gmail > click Authenticate email.
- Click your primary domain name and where you’ll use DKIM.
- Go to the zone editor and add the DKIM as TXT record

How to find the value for DMARC
Go to the DNS zone editor Add following information as TXT record
Sample:
v=DMARC1; p=reject; rua=mailto:postmaster@solarmora.com, mailto:dmarc@solarmora.com; pct=100; adkim=s; aspf=s
Visual Sample:

Recheck if email setup correctly using Google Toolbox
- Go to https://toolbox.googleapps.com/apps/checkmx/check.
- Add domain name then click again the Run Checks! button
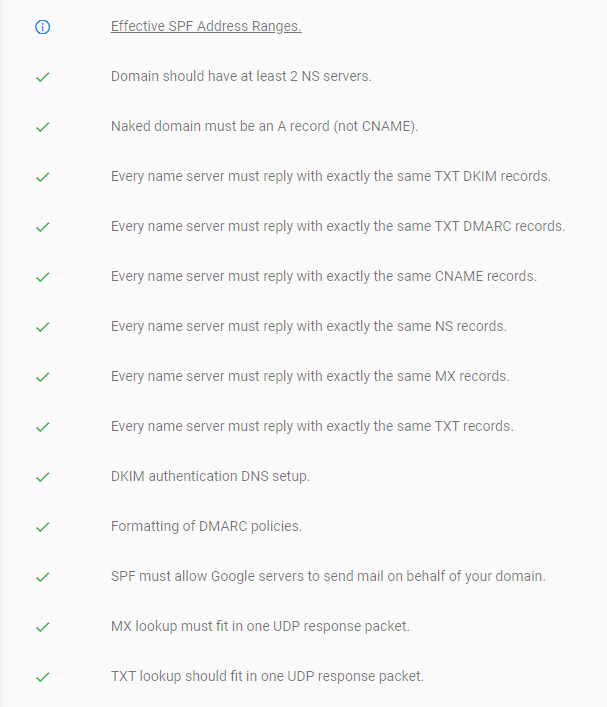
- Everything is checked when it is setup correctly
- Effective SPF address Ranges is usually have is this is also correctly added.
Sample MX record
